In a Jam with Preserves? This Simple Hack Makes Fruit Jams Easy
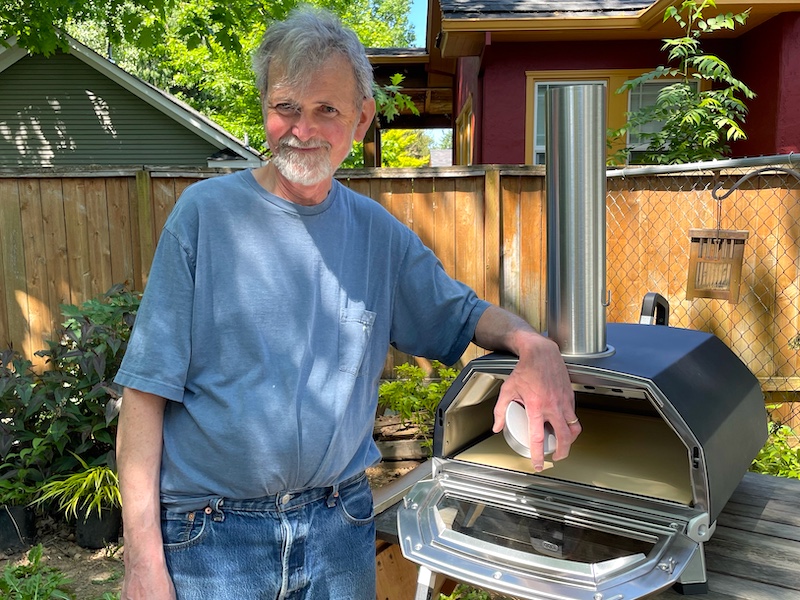
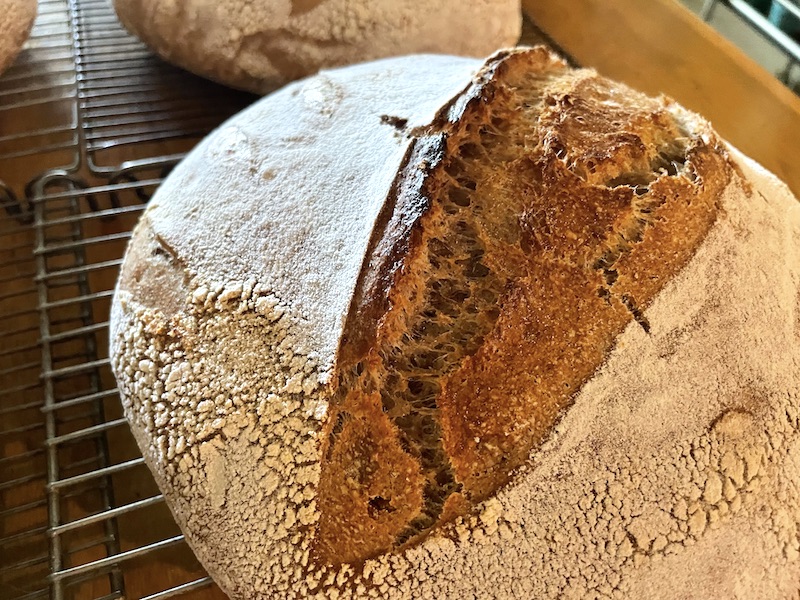
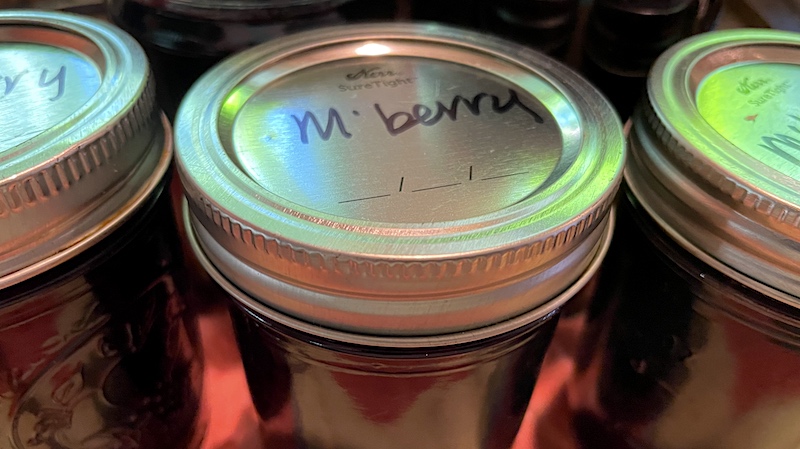
My family loves jam—Dave's homemade sourdough toasted in our old-school two-slice toaster is most of the reason—so this time of year I make a lot of it. And I'm talking about gallons of the stuff, enough to last us until the fruit ripens again next summer. So far this summer alone I've made raspberry, marionberry, strawberry, blackberry and two kinds of plum jam, with Dave's special citrus marmalade rounding out the selection.
I'm not confident enough to start playing around with spices to my repertoire, and I do love the forthright flavors of the fruits all by themselves. There are those who make exotic combinations like plum cardamom or apricot chanterelle, both from my friend Jennifer Bright, my polestar for preserving ideas—see this recipe for Prune Plum Jam with Fennel Seed for a taste. (Her blog Culinaria Eugenius, from her previous life in Eugene, is a trove of recipes and inspiration.)
This summer I did have a breakthrough when I ran across a blog called Divas Can Cook by Monique Kilgore, which she describes as centering on African-American Southern Cuisine. Her recipe for strawberry jam without pectin describes a technique calling for combining the fruit with sugar, warming it to melt the sugar, then bringing it to a rolling boil until it reaches 220 degrees. Done!
For me this eliminates the "will it set" problem of either runny preserves or a set that is too hard (and probably overcooked), plus the hassle of the plate-in-the-freezer, is-it-done guesswork. I've now used her technique with all the fruit jams I've made so far and they've all been exactly the right not-too-runny, not-too-thick consistency we love—Goldilocks would be so pleased! So thanks to Monique for setting me on the right path.
Fruit Jam
Adapted from Divas Can Cook by Monique Kilgore
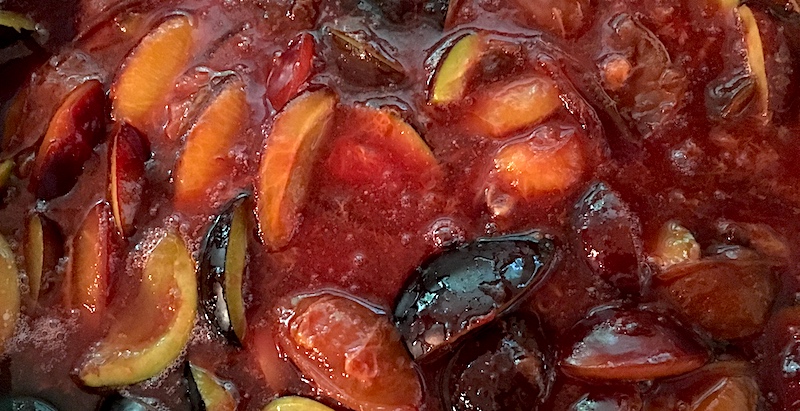
So far I've used this technique to make strawberry, blackberry, marionberry, raspberry and plum preserves with excellent results.
1 lb. fresh fruit
1 1/4 c. sugar
1-2 Tbsp. fresh-squeezed lemon juice
Combine fruit with sugar and lemon juice in a large pot or Dutch oven. (If you have more than one pound of fruit, I use the same proportions as above for sugar and lemon juice.) Allow the fruit to sit and macerate for 15 minutes, then place over medium heat and simmer for 15 minutes until the sugar melts completely. (Kilgore mashes the fruit at this point for an even consistency, but I like my jam to have some texture so I skip that step.)
When the sugar has melted, turn up the heat and bring the fruit to a rolling boil and continue cooking until the temperature of the jam reaches 220 degrees. At that point transfer the jam to clean glass jars. If you're freezing the jam, simply allow it to cool to room temperature and transfer to your freezer. If you want shelf-stable jam, process the sealed jars in a water-bath canner following the canner directions.
Love figs? Get my recipe for a spectacular Balsamic Fig Jam that is amazing with cheeses or on toast.

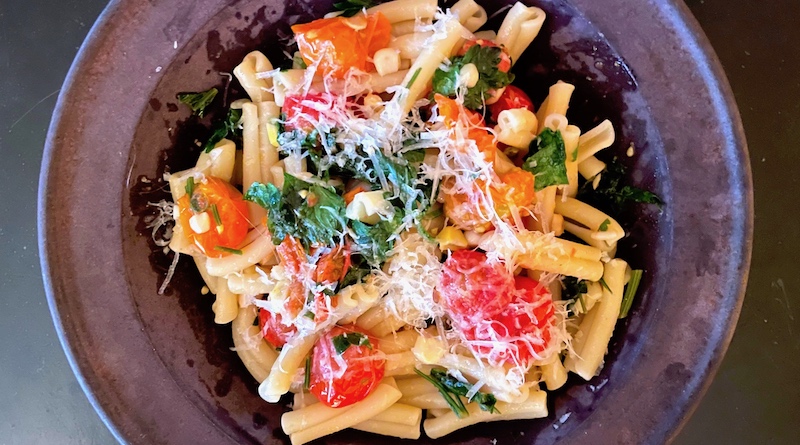
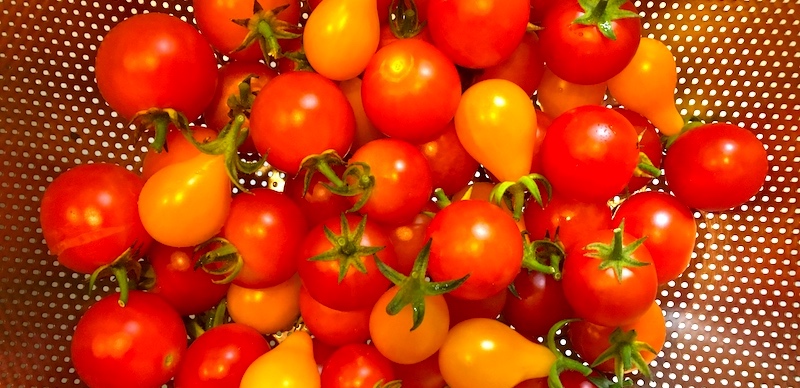 Whether you can stroll out to your garden bed and pluck your cherry tomatoes right off the vine or pull out a pint of little red orbs from your farmers' market stash, all you'll need is garlic, a tin of anchovies and olive oil to complete the dish. It's so simple you could whip it up while your guests sip gazpacho from tiny glass cups, but whether you choose to do that or just toss it in a bowl and put it in front of your family with a salad, I guarantee it'll be a dish you'll be pulling out again and again in tomato season.
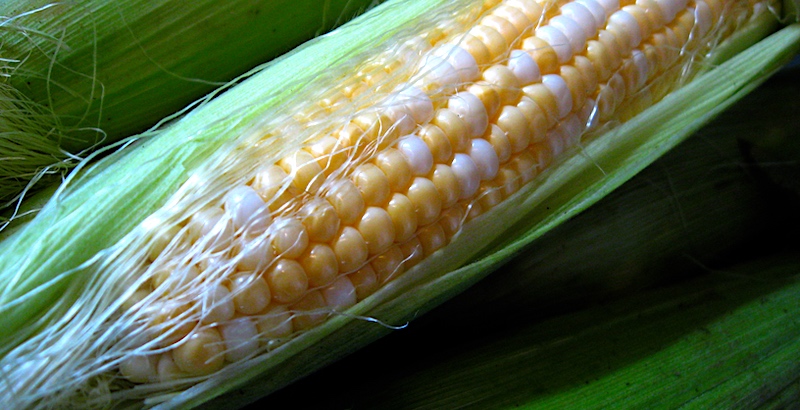
 Across the street in front of our house was another row of houses identical to ours, beyond which stretched another field, this one planted with row upon row of corn. All the kids on our street would play hide-and-seek in that field, losing each other in the sameness of the shadowy stalks that stretched into the sky, their tassels glowing in the evening light. During the late summer I'd often wander off into the field on my own and pick an ear or two, peeling back the green husk and nibbling the sweet raw corn that always tasted better than anything boiled and buttered, and only emerge when I heard my mother calling from the front porch to come in for dinner.
 This year, just as the early July heat wave was hitting the Northwest with a vengeance, our