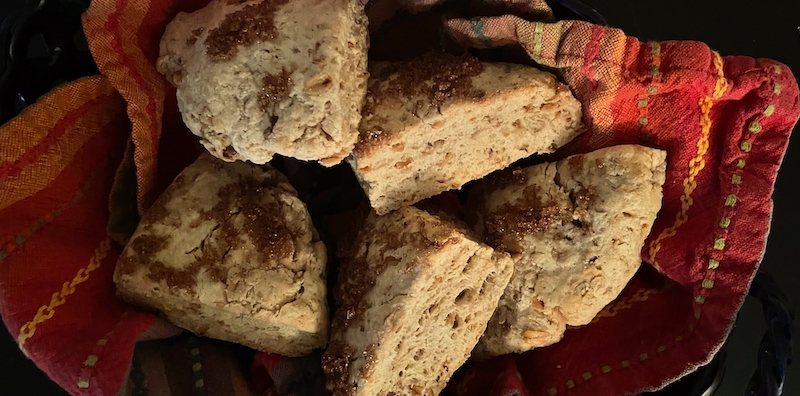
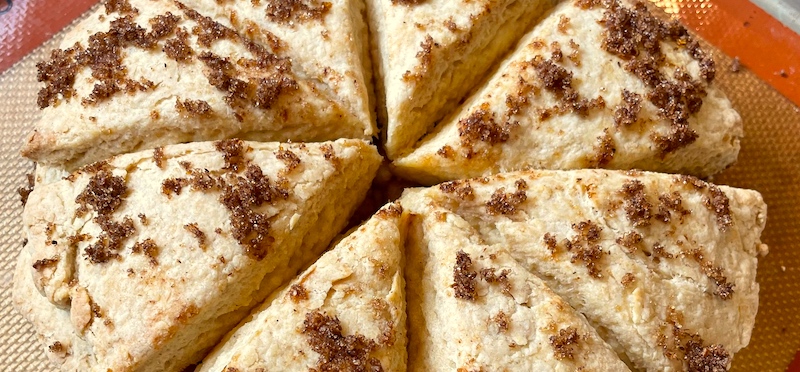
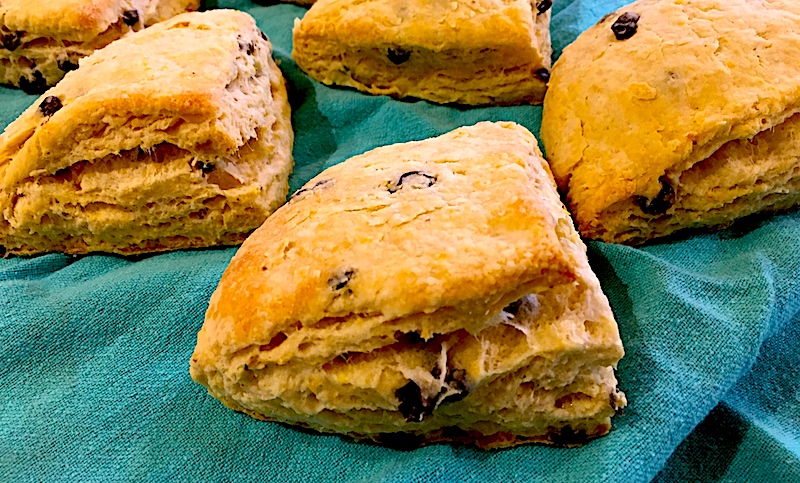
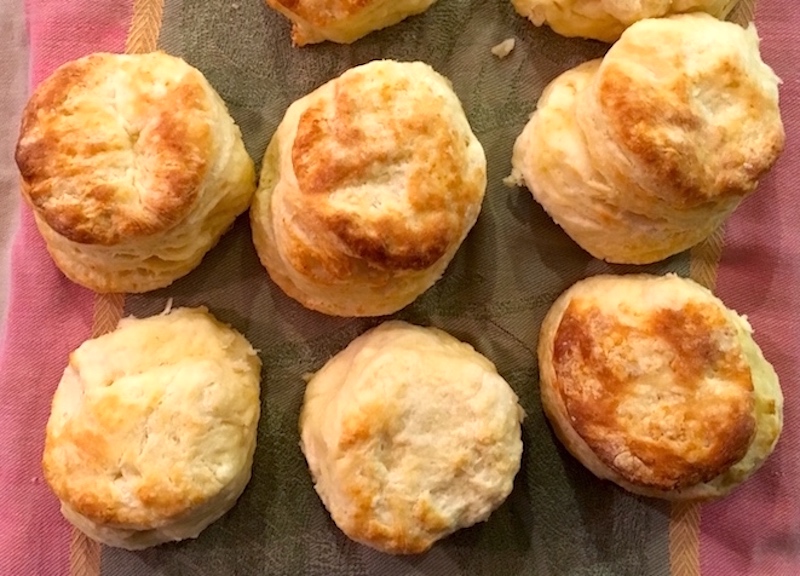
Scones So Good You'll Be Tempted to Hide Them
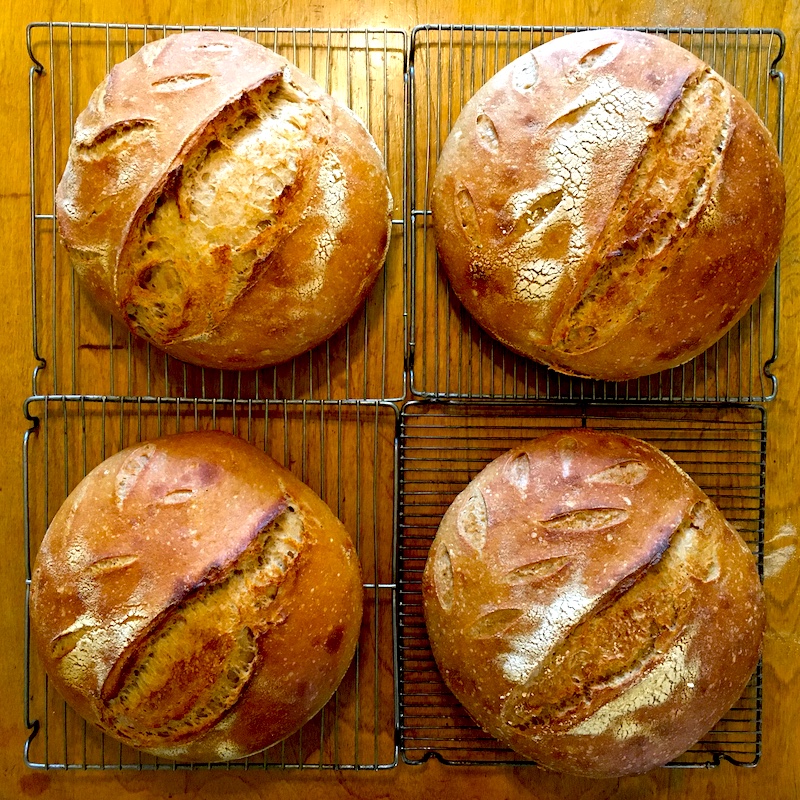
Dave makes scones for breakfast at least once a week—they're in a regular rotation with his sky-high biscuits and bran muffins—and we routinely save one out for Fred, our letter carrier. While Fred said he's sorely tempted to scarf it down on the walk back to his truck, he fights the impulse so he can enjoy the scone for breakfast with his tea the next morning. More than once, though, his kids have discovered the baked delight in his postal bag, so he said he's taken to stashing it out of sight in the back of the fridge when he gets home.
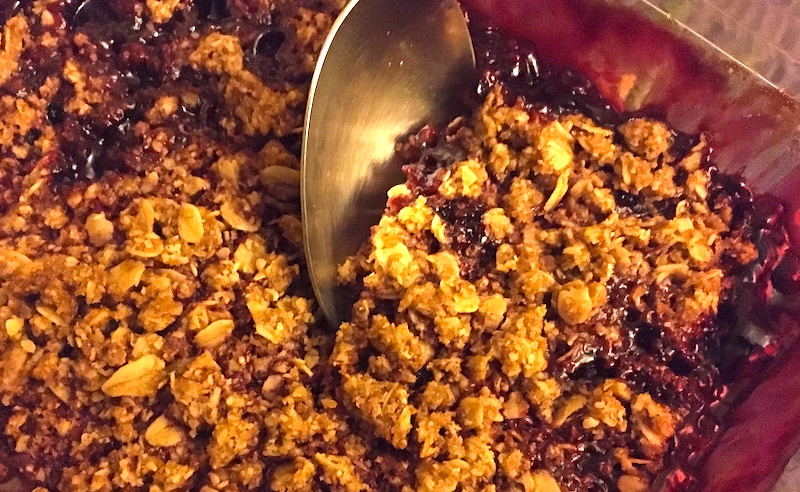
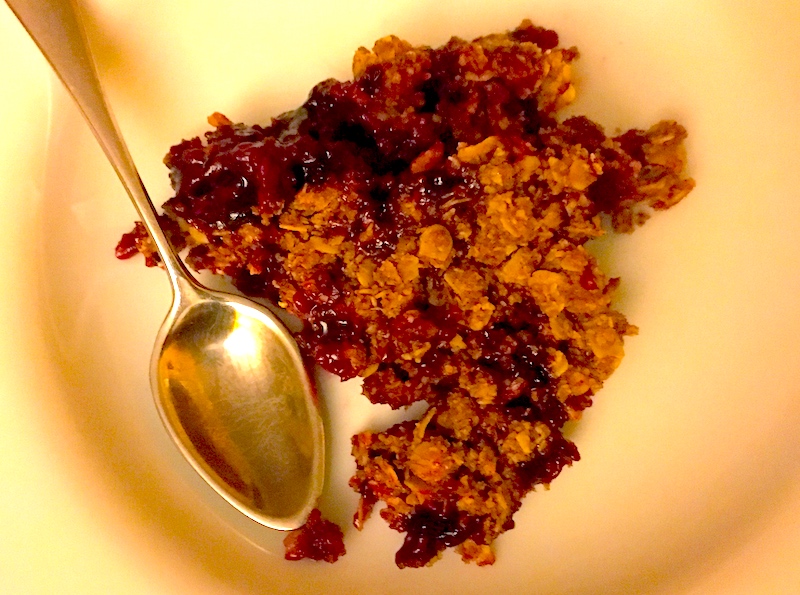
Lately Dave's been experimenting with revising his classic Orange Currant Scones by adding toasted oats to the dough for a slightly less sweet, heartier version that reminds me of Scottish oat cakes. These brawny lads are mellowed with a generous slathering of butter and a heaping helping of homemade fruit jam and, in our case at least, a big mug of strong black coffee alongside. Let me know what you think!
Dave's Toasted Oatmeal Scones
1/4 c. (29 grams) rolled oats*
1 1/2 c. (195 grams) all-purpose flour
1 1/2 c. (195 grams) lightly sifted whole wheat flour (or AP flour if you wish)
1 Tbsp. baking powder
3/4 tsp. salt
1 Tbsp. brown sugar
8 Tbsp. (113 g) unsalted butter (1 stick)
1 c. half-and-half
1 egg
1/3 c. dried fruit like raisins, currants, cranberries, etc. (optional; also see note at bottom)
Extra brown sugar for topping (optional)
Heat oven to 350 degrees.
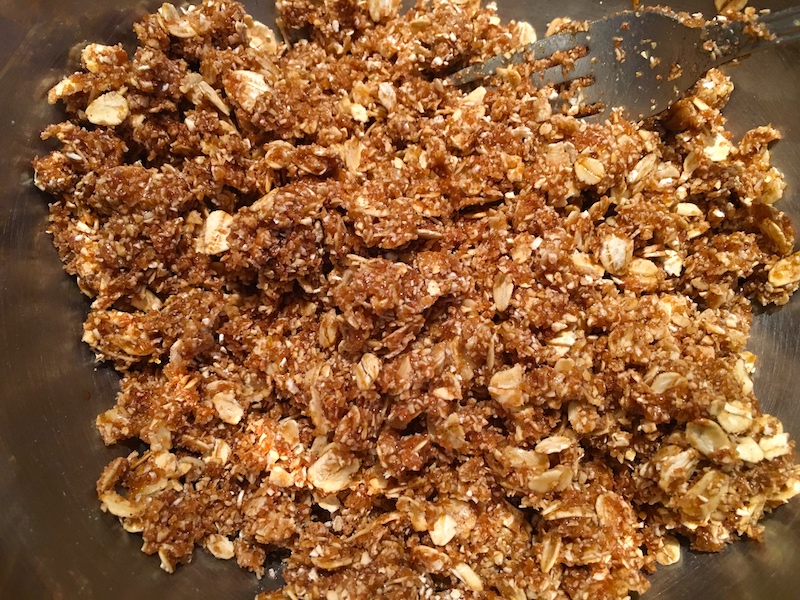
Spread the oats in the baking sheet and toast for five minutes or so; stir and toast another five minutes or so until very lightly browned. Put warm oats into a heatproof container; toss a couple of times and let cool.
Line a baking sheet with parchment or silicone baking mat.
Pulse flour, brown sugar, baking powder and salt in food processor. Pulse in butter until the largest butter bits are about the size of peppercorns, about 10-15 pulses or so.
Put flour mixture into a large bowl. Add cooled oats to flour mixture and mix.
Whisk egg and half-and-half in a small bowl. Add liquid mixture and dried fruit, if using, to dry mixture and mix until a dryish dough forms. Transfer to floured surface and knead four or five times. Form dough into two equal-ish balls.
Flatten each ball with hands into a 6-inch disk. If desired, lightly sprinkle flattened disks with brown sugar. Using a knife or bench knife, cut into wedges of desired size. Place wedges, not touching each other, onto baking sheet.
Put into oven and bake until lightly browned, about 22 minutes.
NOTE: You can also chop up a quarter to half of an apple, briefly sauté it in butter and cinnamon sugar, then mix this into the dough befor shaping. So good!
* Use rolled oats (often called "old-fashioned rolled oats"), not the quick-cooking oats.
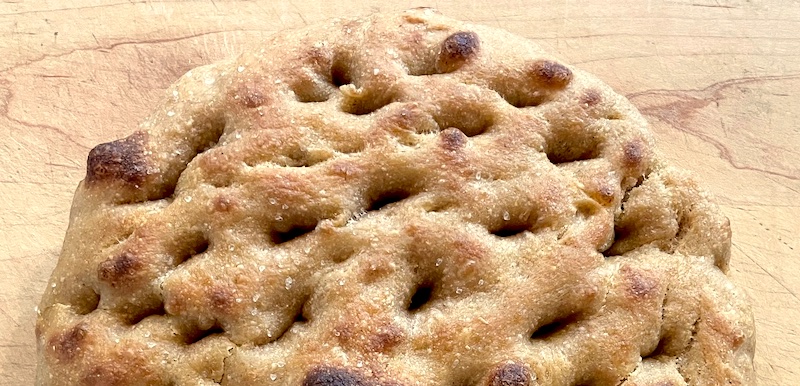

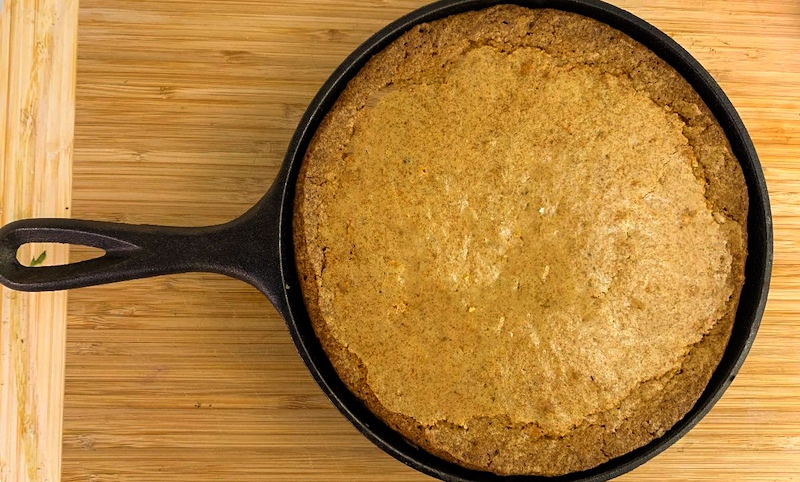
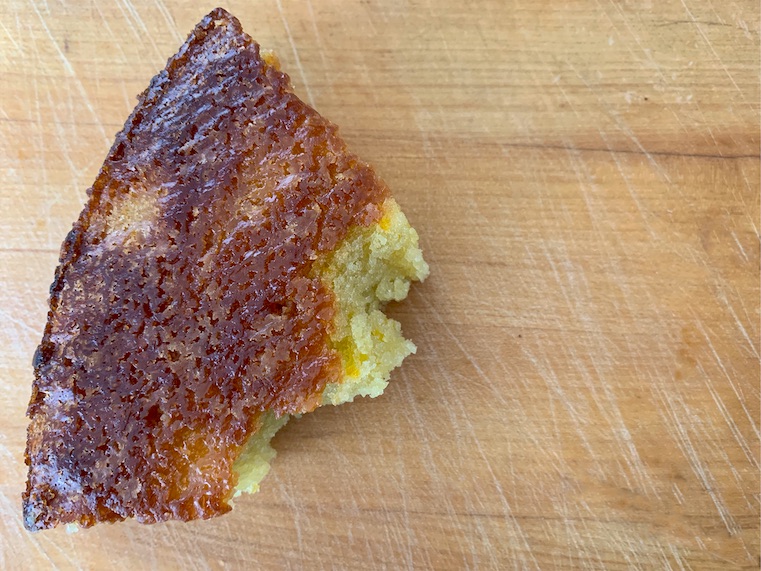
 The journey of these scones started with a Genevieve Ko recipe in the New York Times for a favorite she'd had from an Alabama restaurant that they called orange rolls. What caught Dave's eye was that these didn't require yeast, multiple risings or refrigerating overnight, the better to put together for our usual late-morning breakfast. Describing them as "pretty okay" after a test run, Dave mused that it might be possible to rework them as scones, both to save time and get around the hassle of rolling out the dough, spreading the filling, rolling up the dough and slicing them—especially if you haven't had enough coffee yet.
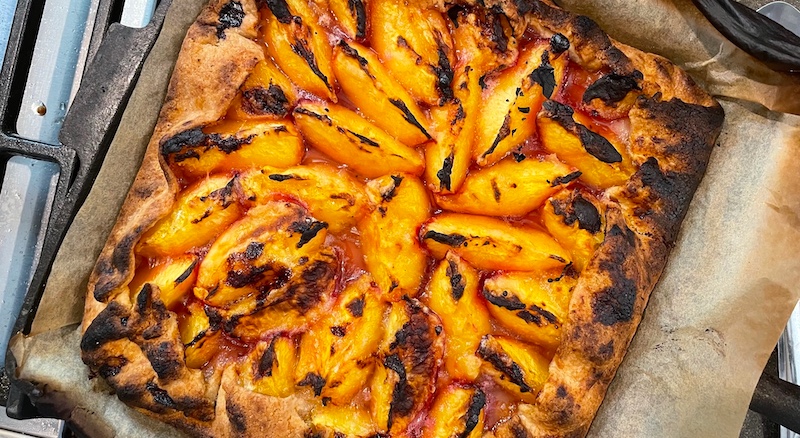


 Preheat the oven to 350°.
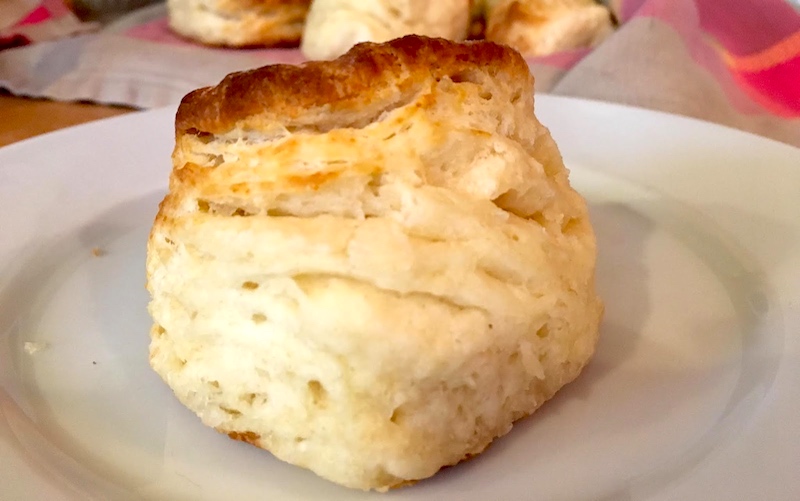
 Here at home I have the good fortune to have a husband who