In Season: Serving Up Summer
Early summer whets my appetite for what's to come in the Pacific Northwest: First to trickle in from our fields both cultivated and wild are the earliest greens—nettles, fiddleheads and fava tops among them—then comes asparagus, green garlic, early strawberries and the softest young lettuces, soon followed by the briefest appearance of our native, and much anticipated, Hood strawberries, along with fava beans, spinach, mustard greens and more exotic friends like agretti and komatsuna.
While local farmers are starting to worry about what's looking like a hot, dry summer requiring the trouble (and expense) of near-constant irrigating, the relatively mild spring was beneficial for getting a jump on planting, weeding and the growth of the tender seedlings that will be harvested later in the summer and fall. In his weekly newsletter to subscribers, my CSA farmer Aaron Nichols of Stoneboat Farm wrote:
"It's a mixed bag for the spring crops, some are coming on quick and very well (hello fava beans!) and others seem a bit behind (broccoli and cabbage) or are being very temperamental (we're looking at you radishes!). A lot of things we plan to have for a few weeks are wrapping up in one or two this spring but, so far, it's been fine as other things are ahead of schedule. I'm pretty worried for a hot summer but no point in borrowing that trouble now!"
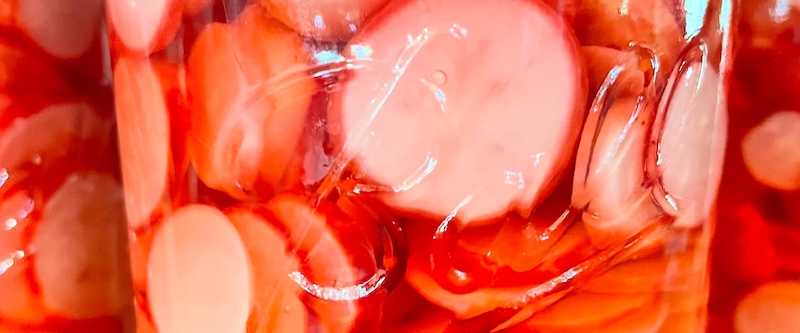
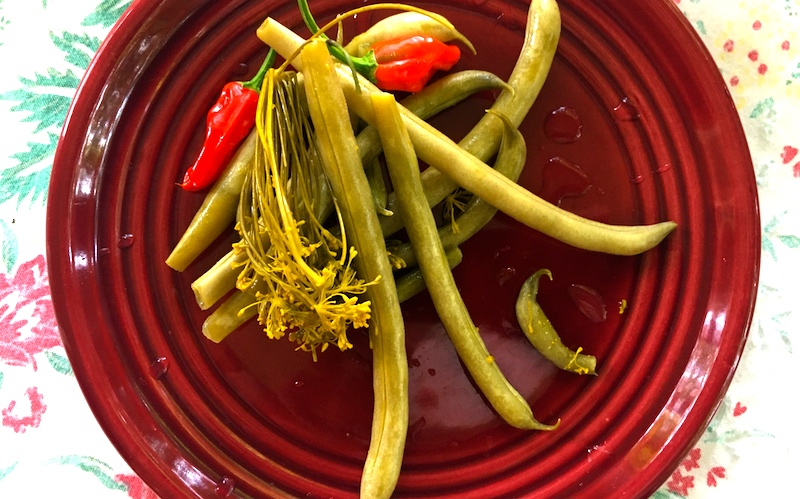
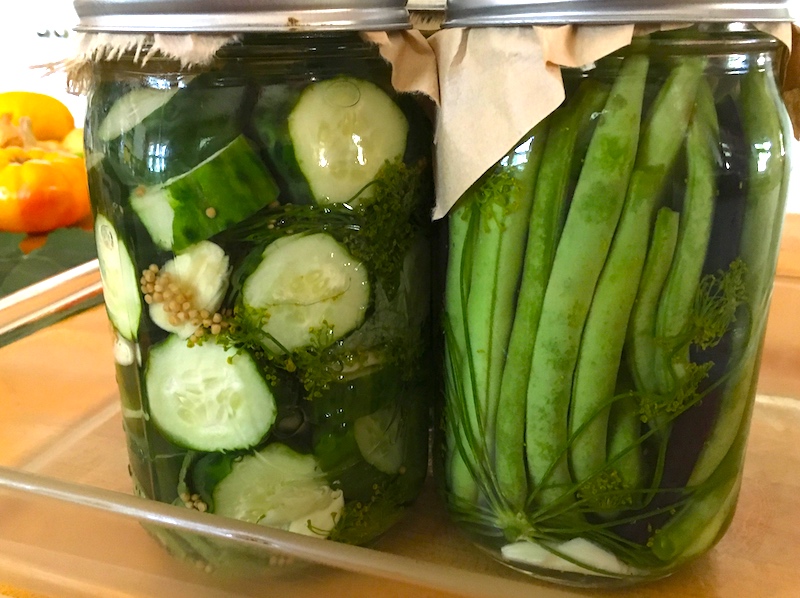
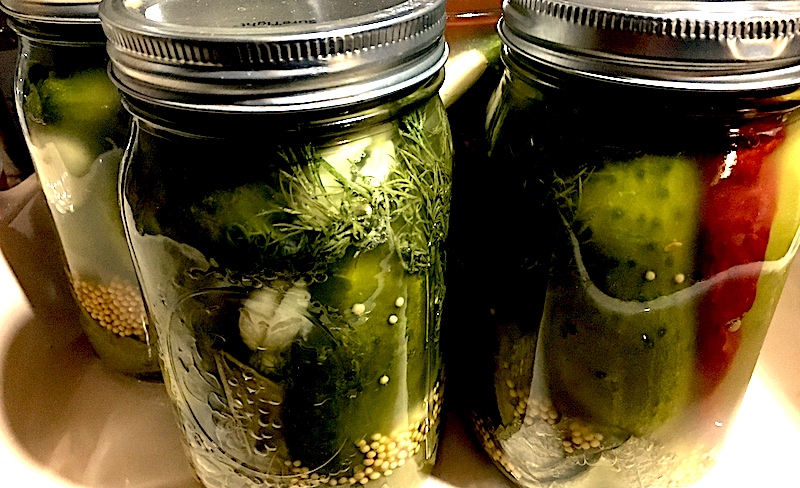
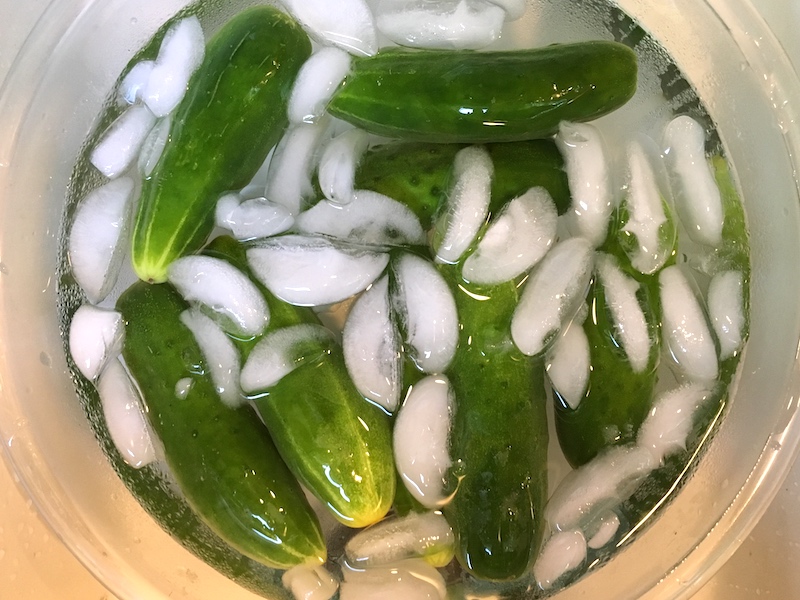
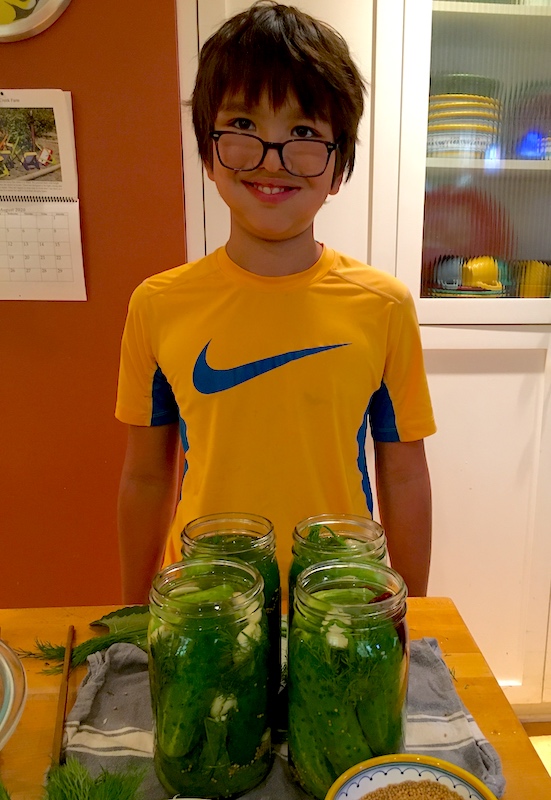
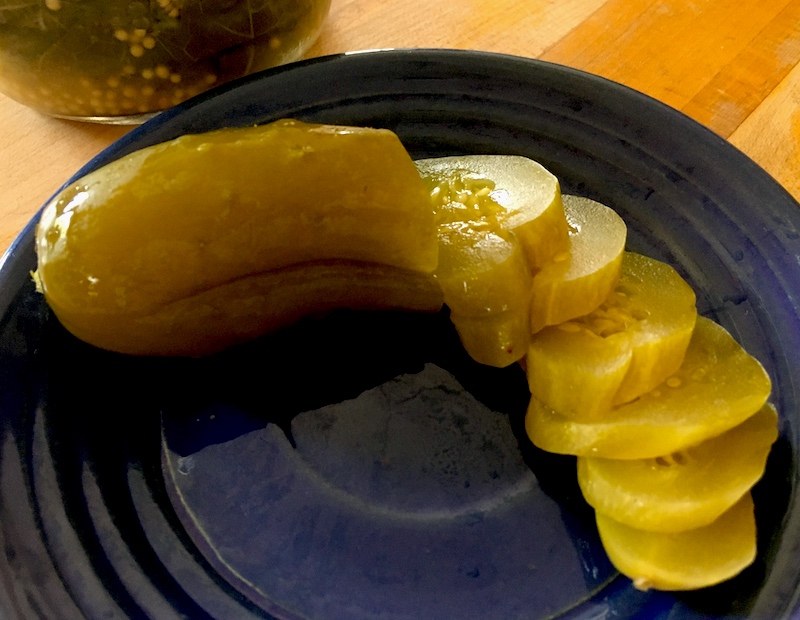
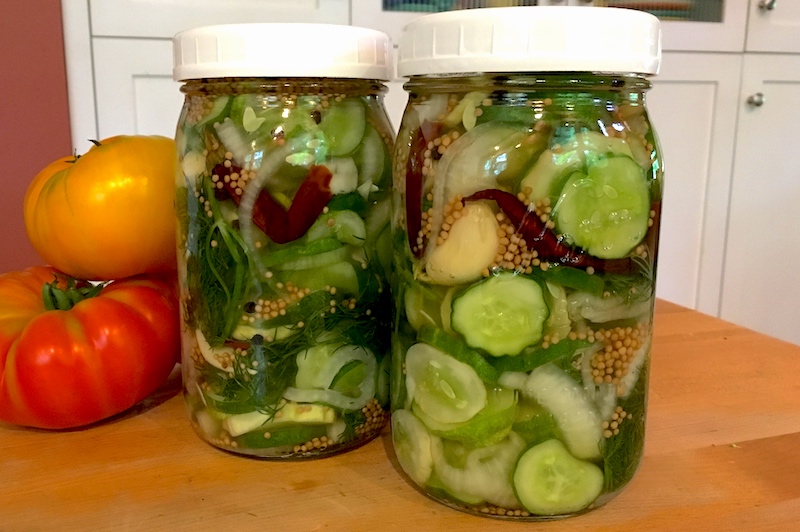
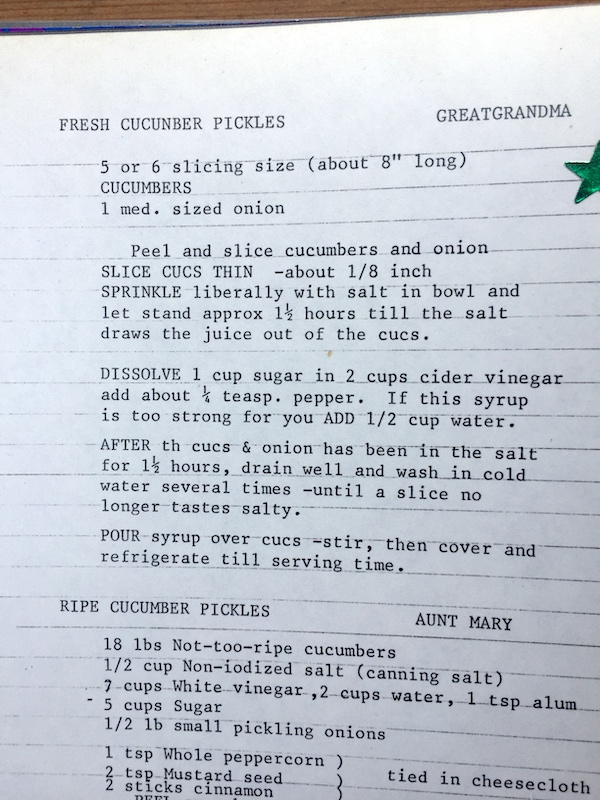
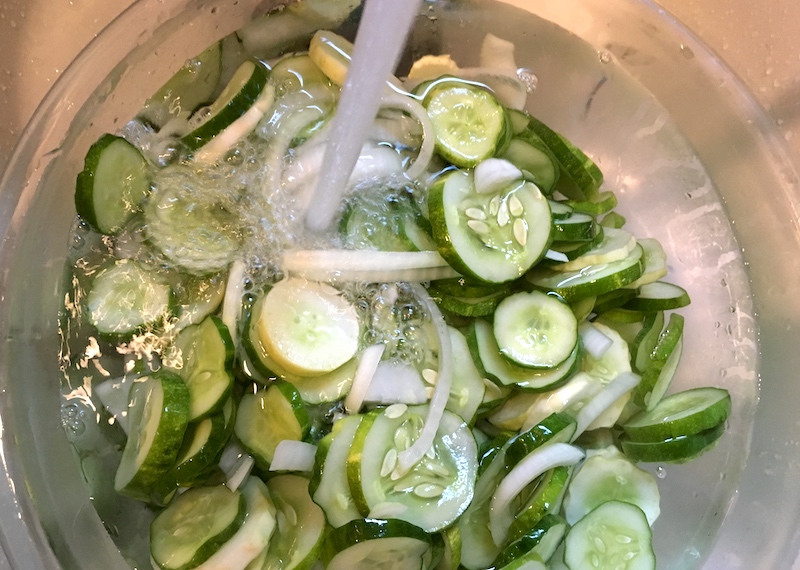
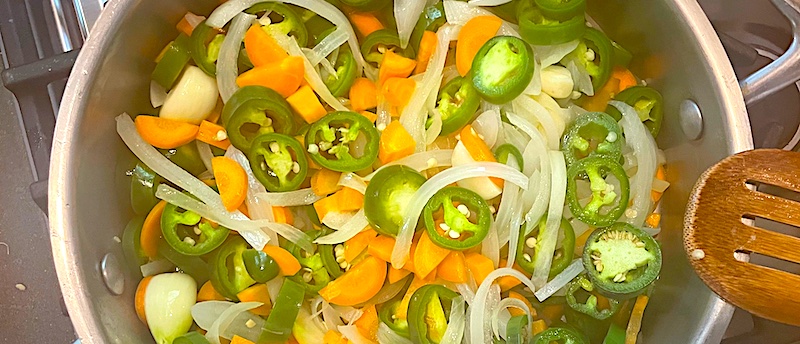
This season always gets my juices flowing for preserving the freshness of summer. After gorging myself on fresh strawberries and shortcakes, I turned around and made three batches of strawberry jam to replenish our dwindled supply from last summer, and I'm already anxiously anticipating the raspberries, blackberries and plums that are on the way. (Check out my hack for perfect fruit jam.) The radishes that Aaron mentioned above went into four jars of simple pickled radishes for our taco Tuesdays, and soon cucumbers will be sliced into rounds and given the hot brine treatment as well!
I'll also be eagerly anticipating the Napa cabbage due to appear in our CSA share and at farmers' markets toward the end of the month, since we are desperately in need of kimchi made from my friend Denise's family recipe. And with cabbage season comes homemade sauerkraut to have with all the grilled things.
Let me know if you have any favorite recipes for preserving the best of what's in season this summer and I'll do a follow-up post on what I learn. Let's share!


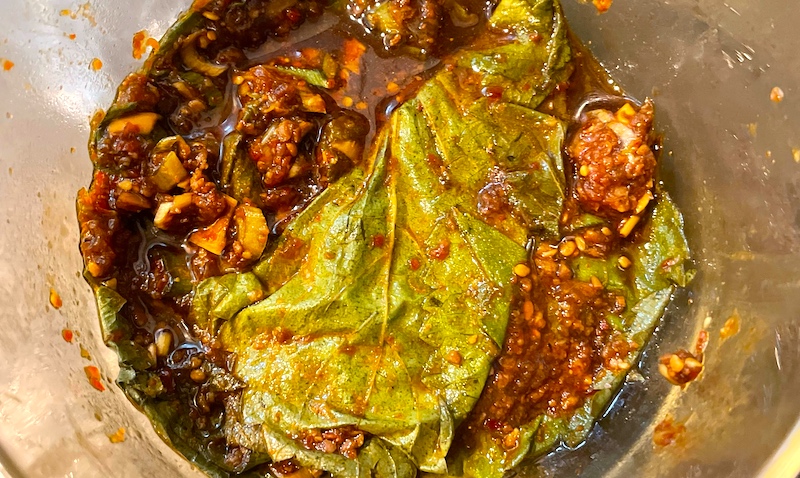
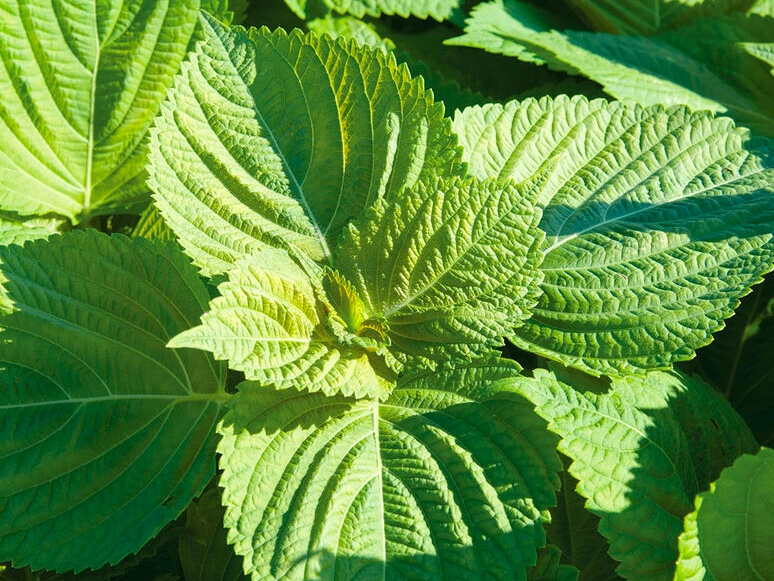 It's made using shiso leaves, halfway between a leafy green and an herb that the New York Times described as "a mysterious, bright taste that reminds people of mint, basil, tarragon, cilantro, cinnamon, anise or the smell of a mountain meadow after a rainstorm." (Ooooookay…?) I'd say it's flavor is on the same spectrum as cilantro: definitely pungent, with a slightly minty twang. Shiso is, for me, a little strong to use in a salad, for instance, but the process of fermentation and the other ingredients in the brine—soy, ginger, garlic and the Korean ground peppers called gochugaru—seem to tame its somewhat, shall we say, overpowering personality.
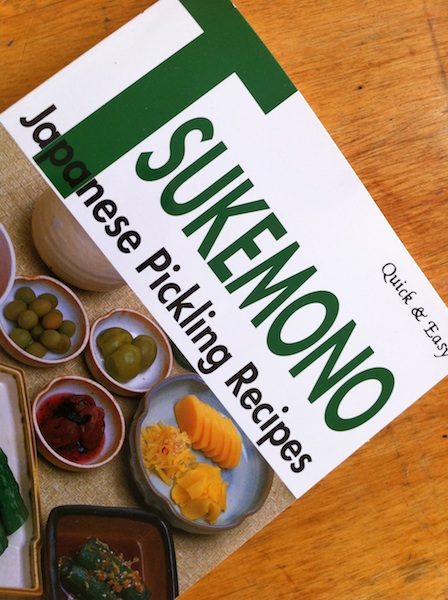 The recipe is adapted from a book I absolutely love,