
In Season: Gourds, Pumpkins and Squash, Oh My!
In the spirit of Halloween, it's the ideal time to feature the more than 900 members of the gourd family, or Cucurbitaceae. As Ginger Rapport of the Beaverton Farmers Market wrote in a recent newsletter:
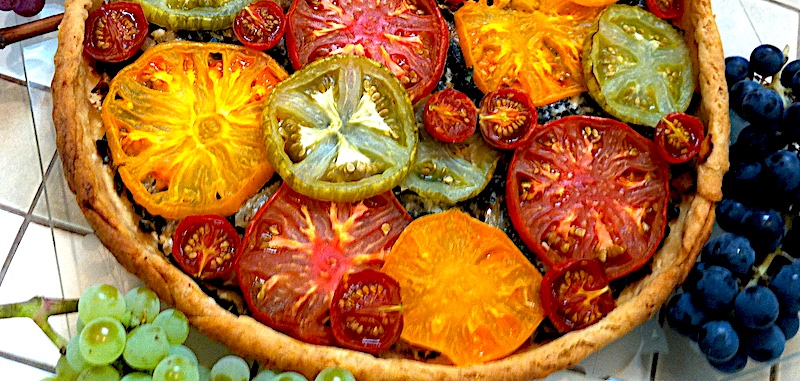
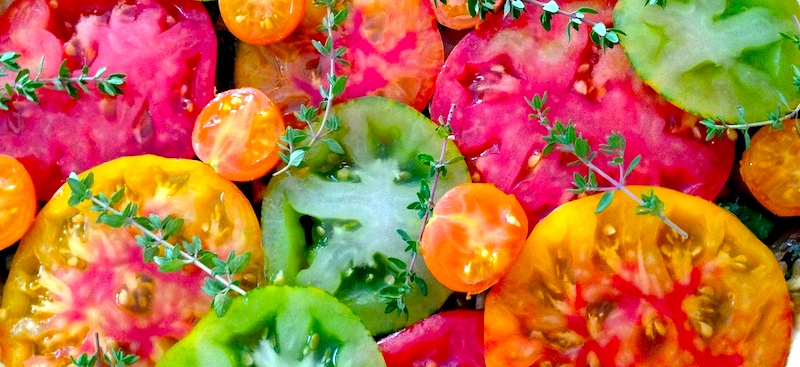
"Although pumpkin, squash, and gourd names are sometimes used interchangeably, it is important to remember that gourds are purely ornamental. Botanically a fruit but culinarily used as a vegetable, winter squash and pumpkins can be decorative and can also be food.
"Because of its very long shelf life, winter squash is a great source of vitamins during the colder months. In our growers’ stalls, you will find plenty of colors, shapes, and sizes to choose from, and each variety has its own personality."
With its easygoing nature—being a breeze to clean and peel, with a sweet, slightly buttery flavor and smooth texture—Butternut squash is one of the most commonly mentioned types and the easiest to find in stores. But venture a bit further afield and you'll discover a world of other varieties to choose from whether you're making soups, curried stews or even desserts.

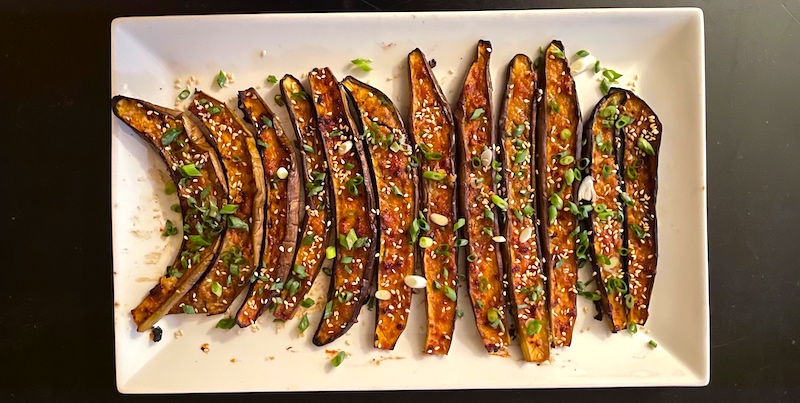
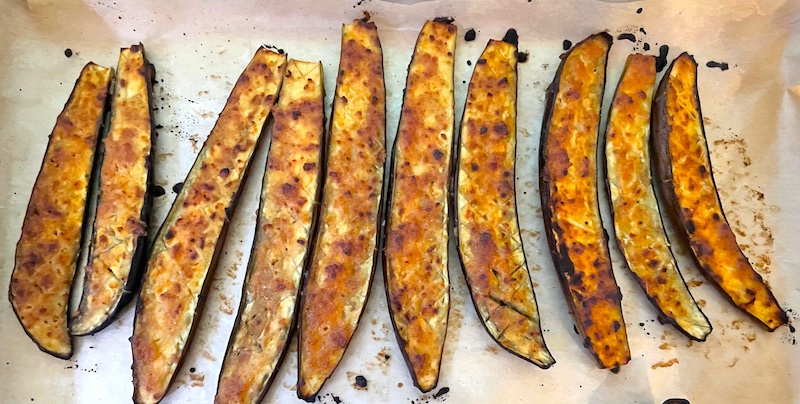
Just this last week I whipped up a delightful appetizer of fried squash blossoms from a gift of zucchini flowers from Randy Long of Cohesive Farms, a farmer at the Headwaters Farm Incubator in Gresham. Then a hearty dinner of minestrone soup that included colorful delicata squash from my Stoneboat Farm CSA, a squash I'm fond of because of its harlequin coloring and the delightful fact that this variety doesn't require peeling. (Find the recipe below).
Squash seems to be a natural pairing with curry, and the aroma of a curried squash stew simmering on the stove dispels any chill in the wintry air—check out this recipe for curried coconut soup (with or without the accompanying roasted cauliflower).

Squash desserts go far beyond just pumpkin pie—I have fond memories of the squash sorbet that Dave concocted with the roasted flesh of one of my favorite varieties, the voluptuous Musquée de Provence. But if pumpkin pie is your jam, particularly with Thanksgiving looming, ditch the store-bought Libby's and pick up a squash on your next trip to the farmers' market, whether a warty-but-delicious French heirloom Galleux d'Eysine, our own PNW variety the Lower Salmon River, or a more familiar Hubbard. Here's the recipe for Squash (Pumpkin) Pie I make at least a couple of times a season.
So broaden your horizons and give the butternut a rest, whether by picking up a kabocha, black futsu, Gill's Golden Pippin or Koginut. There's a whole world of squash out there to explore!
Winter Minestrone with Delicata Squash
1 onion, diced in 1/2" squares
3 cloves garlic, minced
1 carrot, diced small
2 medium delicata squash, cleaned and diced in 1/2" squares
2 c. diced zucchini
1 qt. roasted tomatoes, breaking up the large chunks with your hands)
8 c. chicken or vegetable stock
2-3 c. cooked cannelini beans (I used cooked pinto beans from Sun Gold Farm)
1-2 c. chopped kale or other greens (optional)
1-2 c. chicken, sausage or meat, shredded (optional)
Salt to taste
Finely grated parmesan, pesto and/or olive oil for serving at the table
Saute onions and garlic for 2-3 min. until golden. Add carrots, saute 2-3 min. (This is the base that Marcella Hazan refers to as soffritto—the raw, diced vegetables are the battuto. The final stage is the insaporire, or sautéing the rest of the vegetables in that base. Who knew?) In any case, add the chopped zucchini and saute for 2-3 min. Then add the rest of the ingredients except for the condiments (for the table) and bring to a boil. Cover, reduce heat and simmer for 2-3 hrs. Serve with parmesan, pesto and/or olive oil.

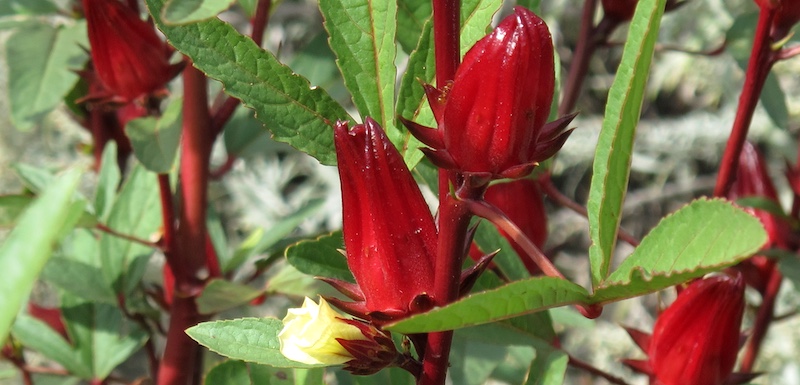


#/media/File:Roselle_2,_Hibiscus_sabdariffa,_2014.JPG)