Ultimate Summer Side: My Mom's Potato Salad
It's been almost 20 years since my mother passed away, and a friend's special request for my Mom's quintessential summer salad brought memories of her flooding back, as they do whenever I make one of the many family favorites still on rotation in our house. This post from 2009 summed it up.
My mother was a good, if not natural cook, doing the not-inconsequential job of feeding her family of five staples like Spanish rice, tuna casserole and goulash. Her own mother was not really interested in cooking, and growing up in North Powder, Oregon, a teeny Eastern Oregon town of 400, hadn't provided much in the way of adventurous dining. She did occasionally venture into unknown territory, which brought exotic foods like tacos, made with store-bought packets of Taco Mix and fried tortillas, to our dinner table.
There were many recipes of hers I made sure to copy down before I left home. Her pineapple carrot cake, favorite holiday cookie recipes and, probably her pièce de resistance, a fabulous all-American summer favorite, potato salad. As a staple of picnics and family gatherings, I'd helped make it so many times it was practically muscle memory, and its still an often-requested, must-have side dish at summer get-togethers.
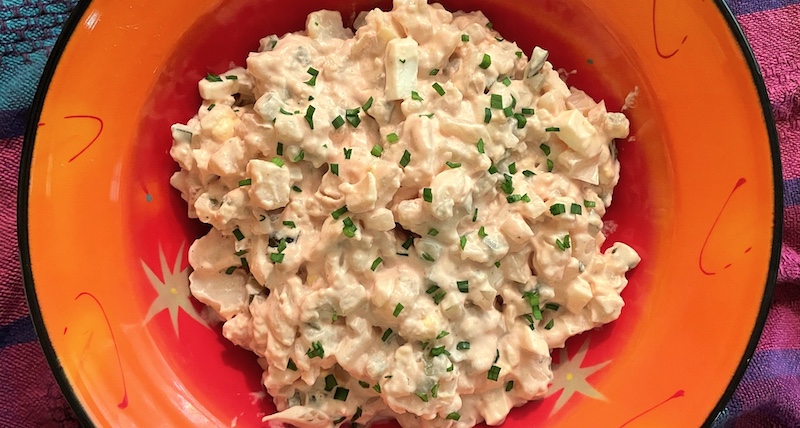
Now, everyone has their own definitive version of potato salad, with the accompanying debates about the merits of mayo versus salad dressing, celery or not. My mother's called for russets (no Yukon golds for her, mister), pickle brine as the dressing's secret ingredient with a slightly pink tinge from what we referred to as God's own condiment, ketchup.
There's nothing that reminds me of her more than when I dig into this on a warm summer's day.
Mom's Potato Salad
Dressing:
2 c. mayonnaise
1/2 c. ketchup
2 tsp. worchestershire
2 tsp. dried basil
1/8 tsp. garlic powder
1/2 tsp. celery salt
1/2 tsp. dried thyme
1/3 c. pickle brine
1 tsp. salt
1/4 tsp. pepper
Salad:
8 med. russet potatoes
1 yellow onion
10 hard-boiled eggs*
6 med. pickles
Put unpeeled potatoes in a large saucepan or Dutch oven and cover with water. Place on stove and bring to a boil. Cook until potatoes are tender but not mushy. Drain and cool (can be made ahead).
While potatoes cook, make dressing. Put all ingredients in a bowl and stir to combine.
Slice cooled potatoes into 1" square and 1/8" wide pieces (or bite-sized). Chop onion and pickles fine. Chop eggs. Put in a large bowl, pour dressing over top and fold it in (don't stir or the potatoes will break up too much) until thoroughly combined. Place bowl in refrigerator and let sit for a couple of hours so flavors have a change to mingle.
Serves 10-12. This recipe makes a huge batch, so you may want to halve it.
* Use this technique for easy-to-peel, hard-boiled pastured eggs.